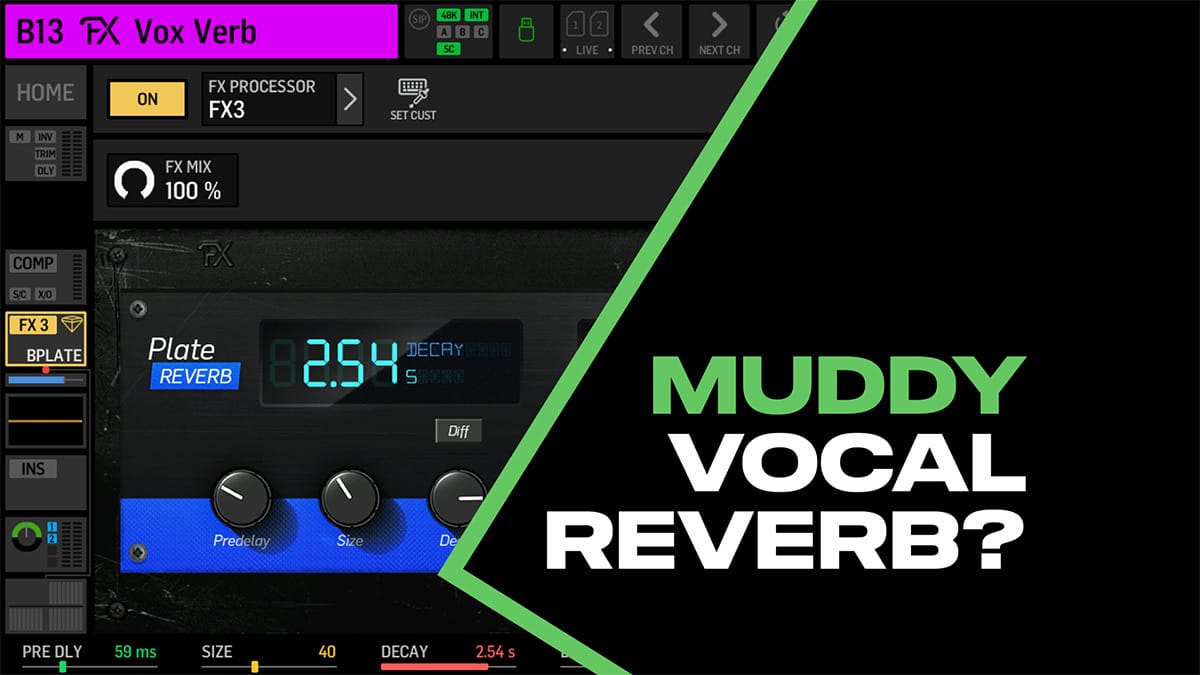
If your mix feels muddy and you can't figure out why, your reverb might be the culprit.
Reverb is one of those effects that can make a vocal sound polished and professional or it can turn your mix into a washed-out mess. And the difference often comes down to two settings that get overlooked: Pre-Delay and Low Cut.
Let me show you what each one does and where to start.
Pre-Delay: Give Your Vocal Room to Breathe
Pre-delay controls the gap between the original sound and when the reverb kicks in. It's measured in milliseconds, and most reverb plugins default to somewhere around 0-10ms.

Here's the problem: when pre-delay is set too low, the reverb starts immediately on top of the dry vocal. The two sounds smear together, and you lose clarity. The vocal sounds distant and buried instead of upfront and present.
Add some pre-delay, and suddenly the vocal has space to breathe. You hear the dry vocal first, then the reverb fills in behind it. The result is a vocal that stays clear and intelligible while still having that sense of space and depth.
Here's where to start:
Background vocals: 0-40 ms - You want these to blend and sit back in the mix
Lead vocals: 40-80 ms - Keeps the vocal upfront and clear
A solid starting point for most lead vocals: 60 ms
The exact number depends on the tempo of the song and the style of music, but 60 ms is a great default.
From there, adjust by ear. If the vocal still feels buried, try adding more pre-delay. If it starts to sound disconnected from the reverb, back it off a bit.
Low Cut: Stop Feeding Mud Into Your Reverb
If you're sending low frequencies into your reverb, you're adding mud.
The reverb tail will carry all that low end and it piles up in your mix, especially when the full band is playing. Kick drum, bass guitar, and keys are already competing for that low-frequency space. Your vocal reverb doesn't need to add to the problem.
The fix: cut the low frequencies on your reverb.
A good starting point is around 160 Hz-200 Hz. This keeps the reverb focused on the mids and highs where it actually helps, instead of adding rumble and buildup in the low end.

Most reverb plugins have a built-in EQ or filter section where you can set this. On the Behringer WING, you'll find it in the effect parameters. On hardware units, look for a "Low Cut" or "HPF" control. For instance the Blue Stripe Plate Reverb has the LoCut button on the top right of the plugin.
If your reverb doesn't have a built-in filter, you can insert an EQ after the reverb on that effects bus and roll off the lows there.
Hearing the Difference
Here's a quick comparison:
Before: Pre-Delay at 0 ms, Low Cut at 20 Hz The reverb smears into the vocal immediately. Low frequencies build up in the reverb tail. The vocal sounds washed out and distant, especially when the band kicks in.
After: Pre-Delay at 60 ms, Low Cut at 160 Hz The vocal stays clear and upfront. The reverb fills in behind it without cluttering things up. The mix has space and depth without the mud.
It's a small adjustment that makes a big difference, especially on a busy stage with drums, bass, keys, and guitars all competing for space.
One More Thing: Decay Time
While we're on the topic of reverb settings, keep an eye on your decay time too.
A reverb tail that's too long will overlap with the next phrase and create buildup. For most worship and live settings, I like to keep decay times in the 1.2-2 second range for vocals on faster tempo songs, and 2-3.5 seconds for slower songs. Short enough to stay out of the way, long enough to add that sense of space.
Until next time,
Drew
Setting up a vocal reverb from scratch?
I just posted a full walkthrough on creating a vocal reverb using the Blue Plate effect on the Behringer WING including routing, sends, and all the settings.
Here’s how I can help:
Quick fixes: Grab presets and scenes that solve common problems → Shop Products
Deep learning: Take the X32 or X-Air Fundamentals course to master your console → View Courses
Personalized help: Book a consulting session to work through your specific challenges → Book Now
